Welcome to another stage of my work on the reconstruction of a gown from the Genesee Country Village & Museum collection. Today I’m focusing on one of the most important elements of this silhouette – the sleeves
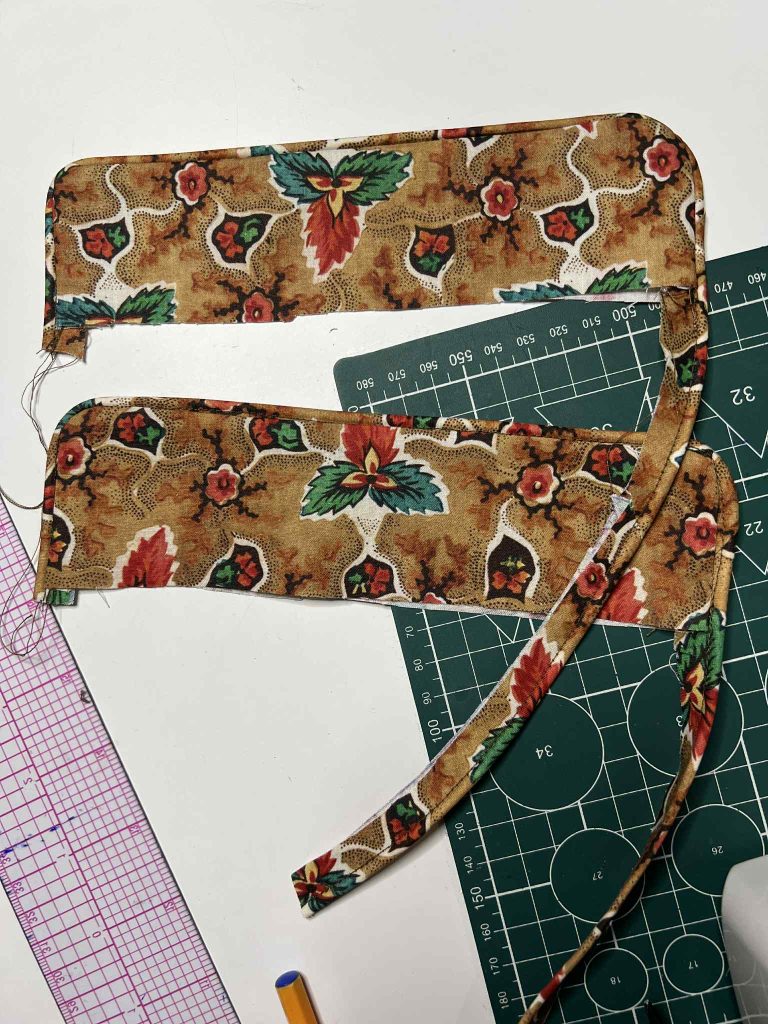
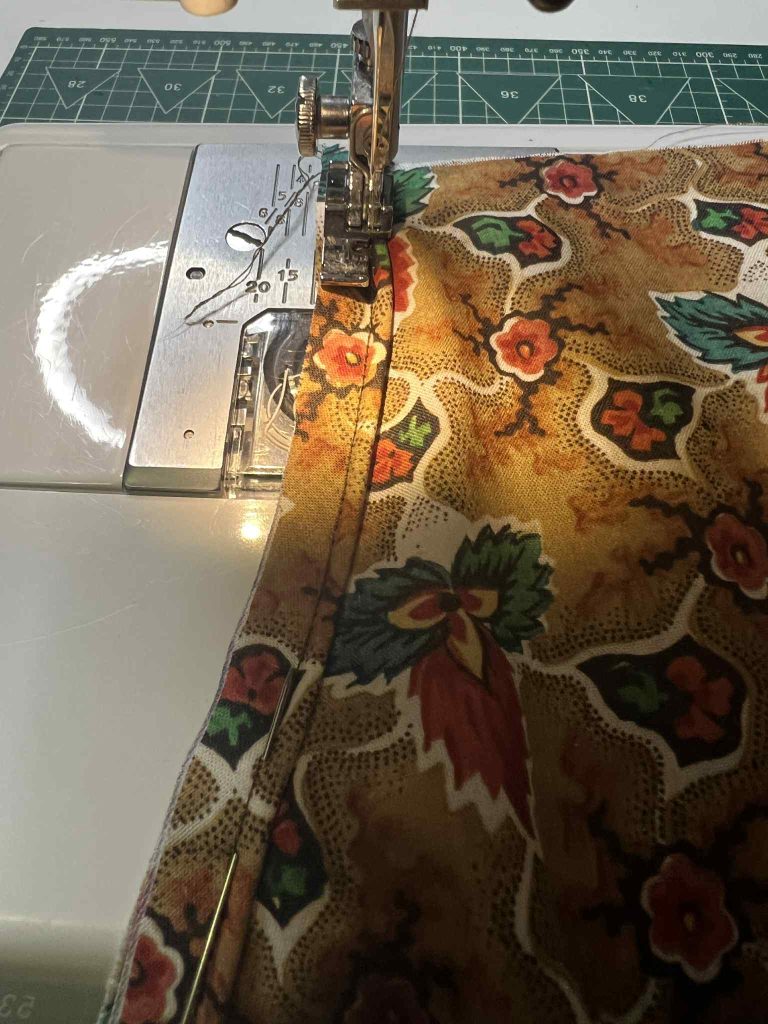
I began preparing the sleeves for my gigot-sleeved gown by working on the cuffs with piping. I won’t hide it, this technique is rather fiddly. I made several attempts, and even when using a zipper foot, something always seemed to go wrong. For me, hand sewing remains far more precise in situations like this.
The cuffs are double-sided and made from the same fabric. One important note: always cut the piping strip on the bias. You can also slightly trim the inner seam allowances to help everything sit more smoothly inside.
The edges of the sleeves, as well as every seam, are finished with a decorative tape with piping. I won’t pretend it wasn’t a fair amount of work, as I mentioned earlier. For attaching it, I initially used a zipper foot, but at some point I found my old Singer straight-stitch foot — and that truly made a difference. It allowed me to sew each element with much greater precision.
This is how I attached the decorative tape to each seam. I know some people prefer to sew everything at once, joining both layers together immediately, but I wanted a clean interior finish. I first attached the decoration to the outer fabric, and only then set in the lining, so I wouldn’t have to stitch through two fabric layers at the same time. Both methods are historically acceptable it’s simply a matter of personal preference.
Very often, sleeves had no lining at all, with only the sleeve head being stiffened. I have two such original garments in my own collection. This does not affect wearing comfort, but unfortunately it does require additional support, such as sleeve supports or sleeve puffs essentially small pads placed on the shoulders and tied to the gown with cords to maintain the intended volume.
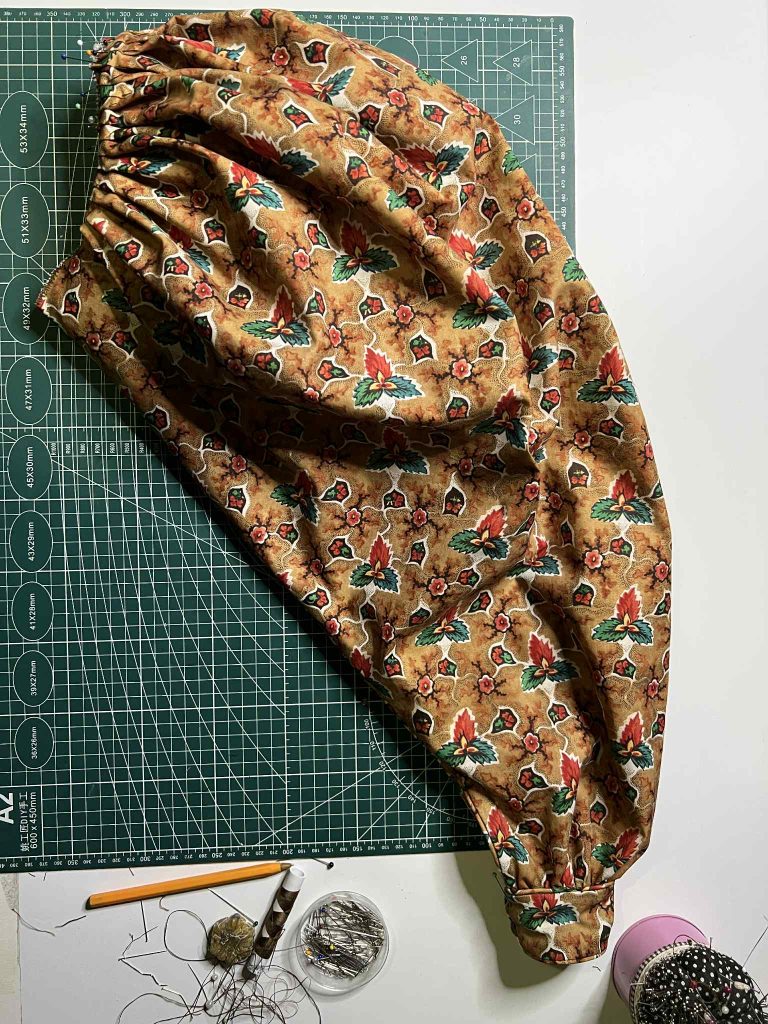
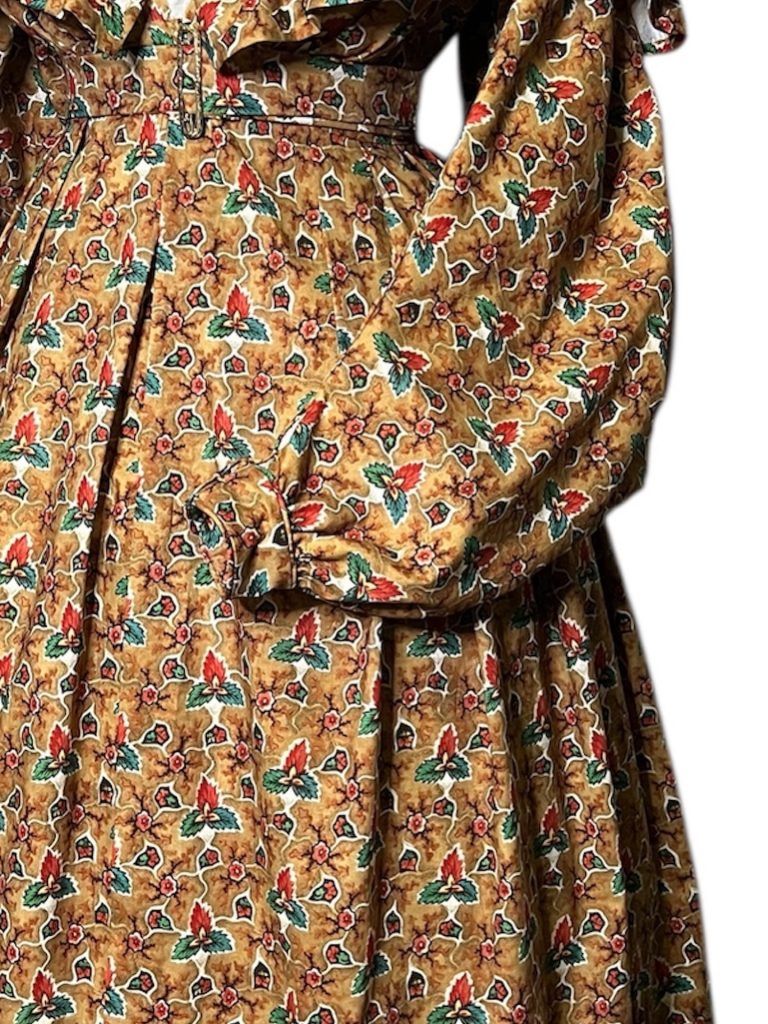
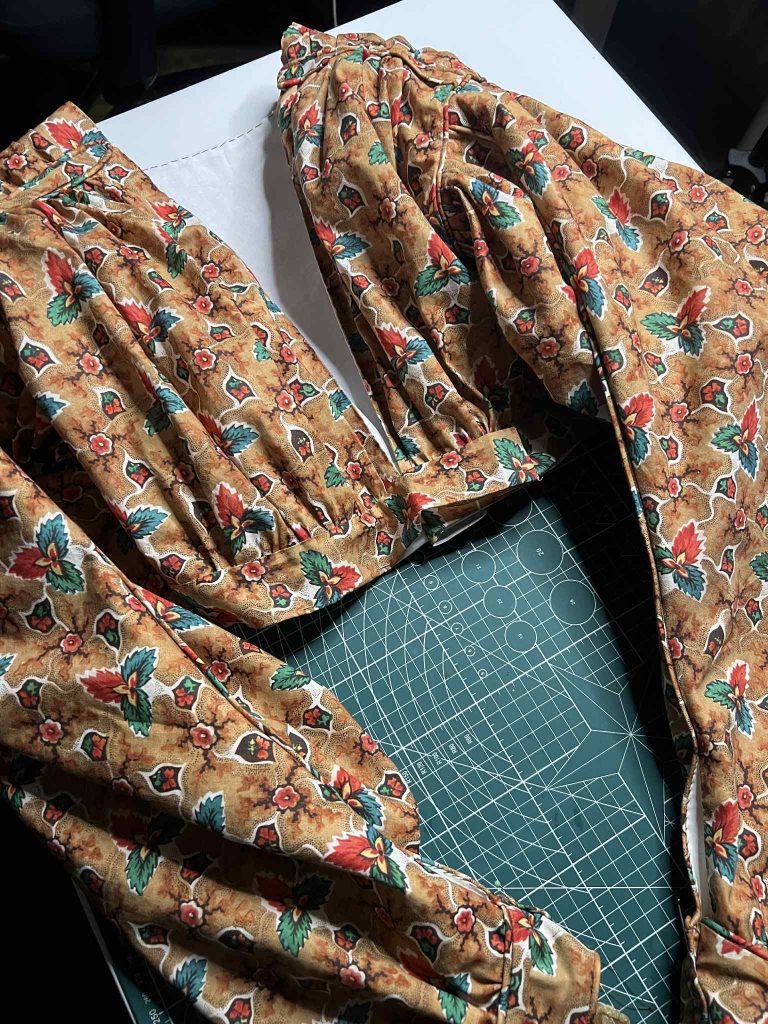
This is what the finished, assembled sleeve looks like. Remember to keep the pleats on both the left and right sleeve folded in the same direction when attaching them to the gown, it looks far more cohesive and the sleeve behaves and drapes much better this way. Beyond appearance alone, it’s very important to me to observe how each element performs when worn, and whether it is truly comfortable in use.
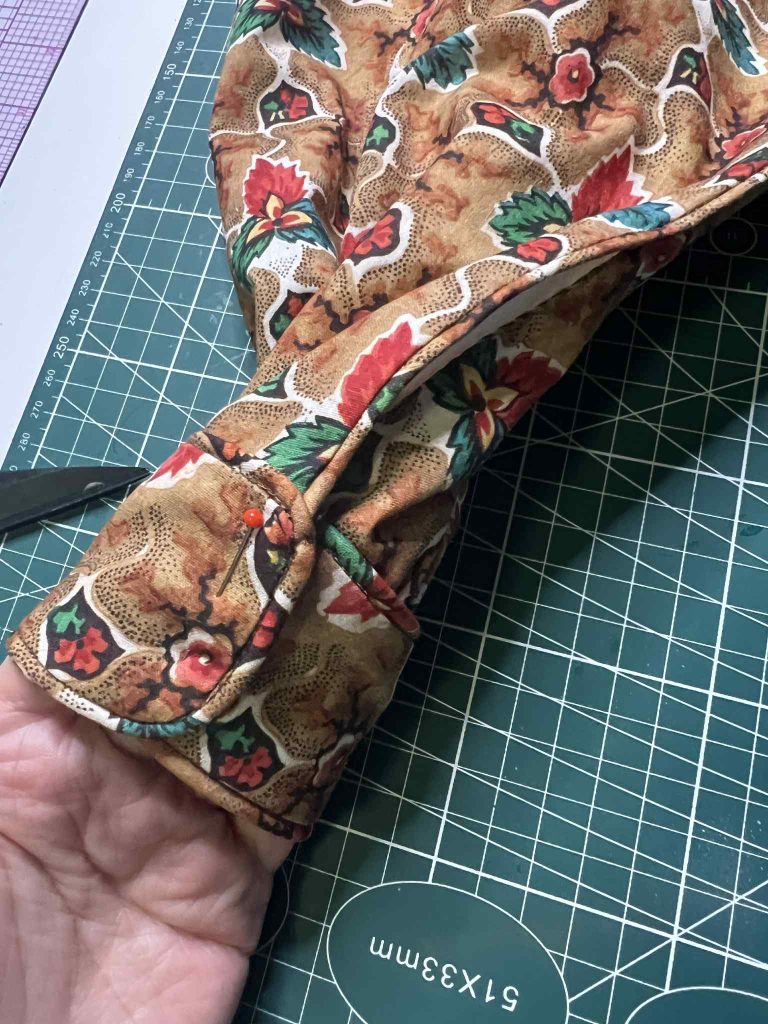
All the most precise elements were finished by hand rather than by machine. Here you can see the cuff before closure. In the original gown, this area was fastened with small buttons, but it was clear that the fabric had been damaged and repaired several times. I therefore chose my tried and tested solution: hooks and eyes.
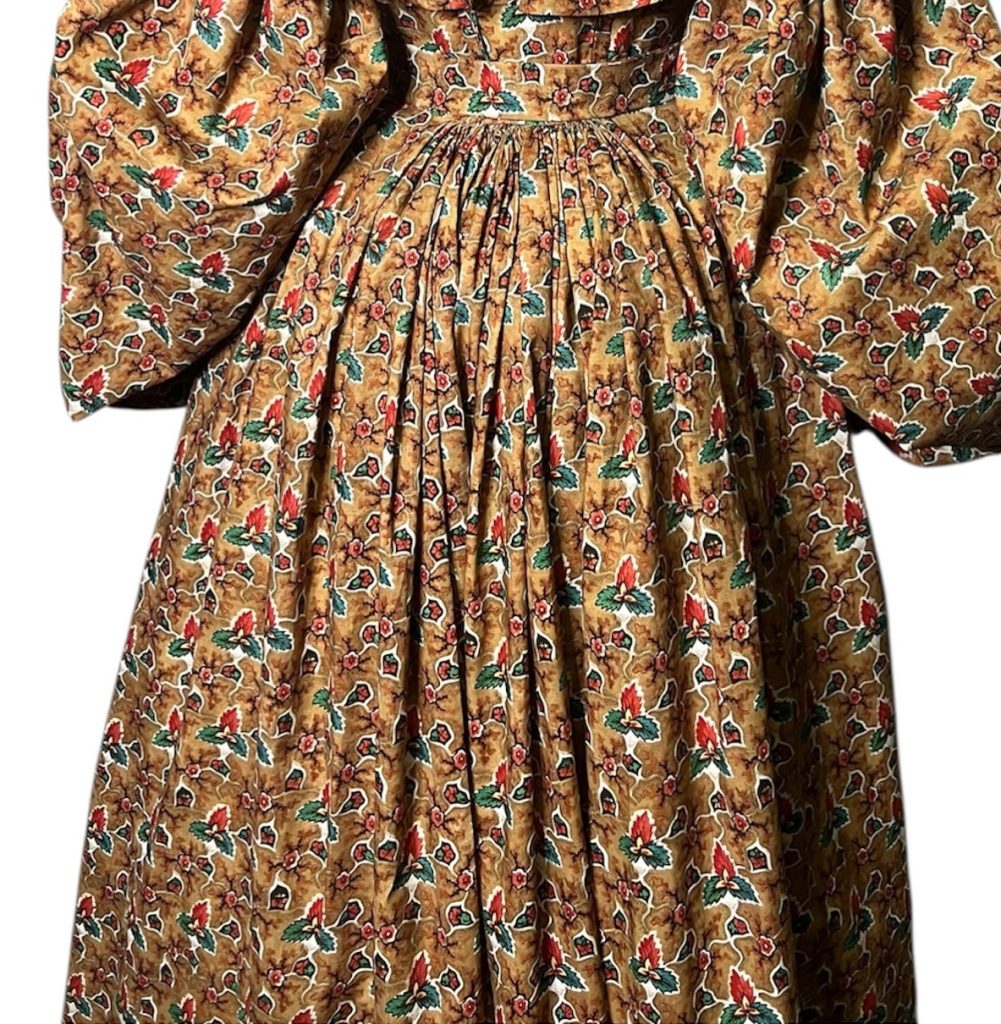
You may remember that I recently mentioned the incorrectly placed gathering. Before setting in the sleeves, I corrected everything. The gathering is now in its proper position, as is the decorative band used to control the fabric fullness.
The sleeves were attached by machine, and the raw edges were finished with an overcast stitch and a strip of muslin to prevent fraying and catching. In the original gown, the interior is finished very simply, essentially just overcast. This is a similar approach. You can either finish the sleeves neatly with an additional strip of fabric or simply overcast them. Both methods were historically used.
Sometimes a method closer to modern construction was applied, where the bodice and sleeve linings were sewn cleanly together with the outer fabric, leaving no raw edges inside. However, I encountered this approach quite rarely, likely because it made later alterations and reshaping of the gown more difficult. And we must remember that gowns were very often altered and refitted over time.
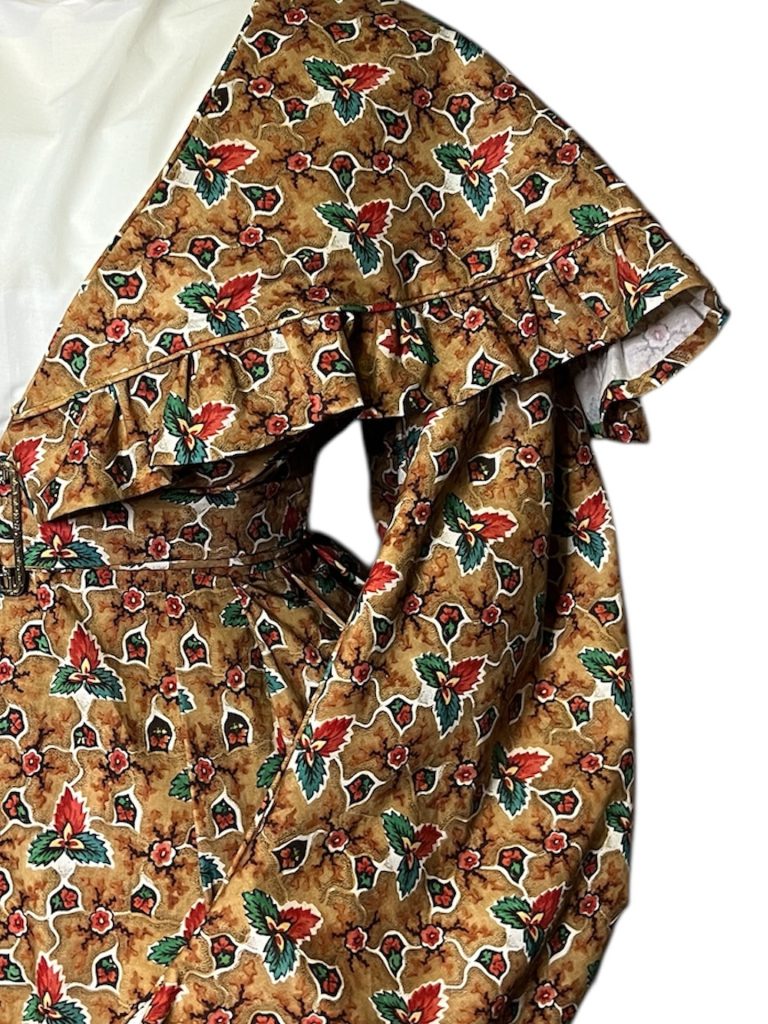
This is how the gown looks with the belt attached. I reinforced the belt with an additional layer of fabric, in this case muslin, as it needs to be strong enough to support the weight of the skirt. I introduced this modification after attaching the skirt for the first time, when I noticed that the fabric was under significant strain and could potentially tear. In the original gown, there is also a piece of muslin at this height, serving the same purpose.
In the next part, I will tell you about the challenges I faced with the skirt and the pelerine, and why I believe this was originally a gown intended for a pregnant woman.