Printed gown from the Genesee Country Village & Museum – petticoat
Hi! Today’s episode is another stage of working on the gown from the Genesee Country Village & Museum collection, today it’s all about the skirt. The skirt pattern itself was very simple: 3.3 meters of fabric, with a length roughly from the waist to the ankles. To maintain the aesthetic of the period, it’s worth keeping it slightly shorter so that the ankles remain visible.
I lined the bottom of the skirt with a 20 cm wide strip of waxed cotton. If you want to make this yourself, you can either treat regular cotton with beeswax or purchase wax-based furniture impregnation products — both work well. You might wonder why waxed cotton? It’s easy to clean and historically appropriate. Even if the skirt gets muddy underneath, simply wiping it with a cloth works like a protective layer, much like oilcloth.
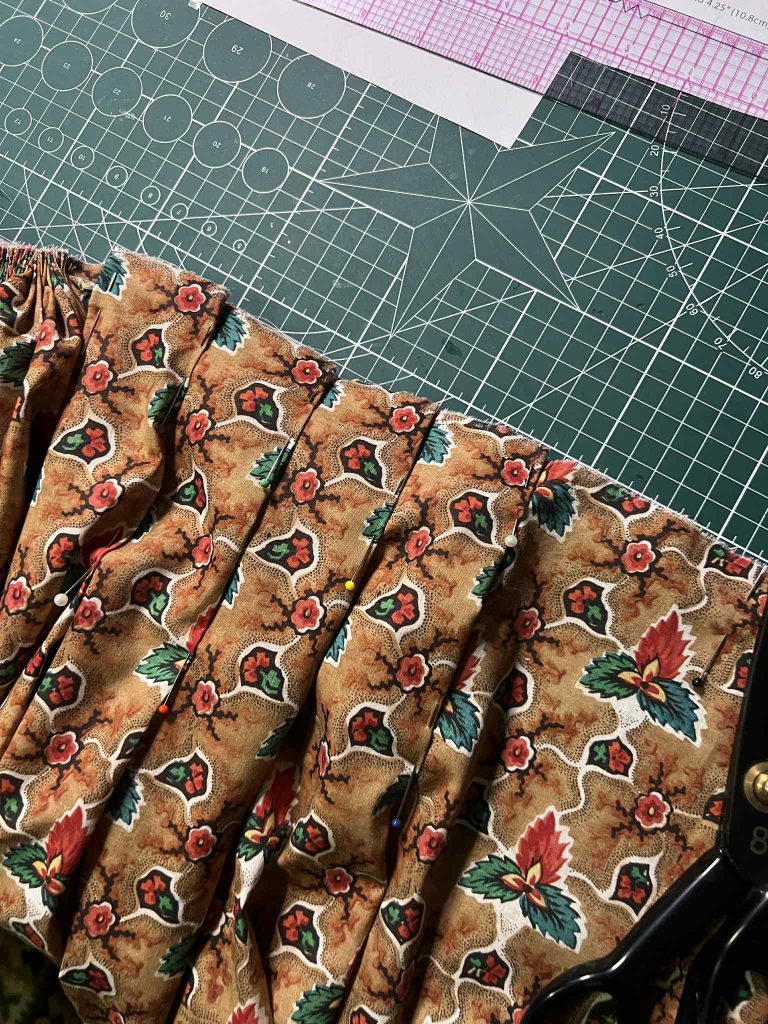
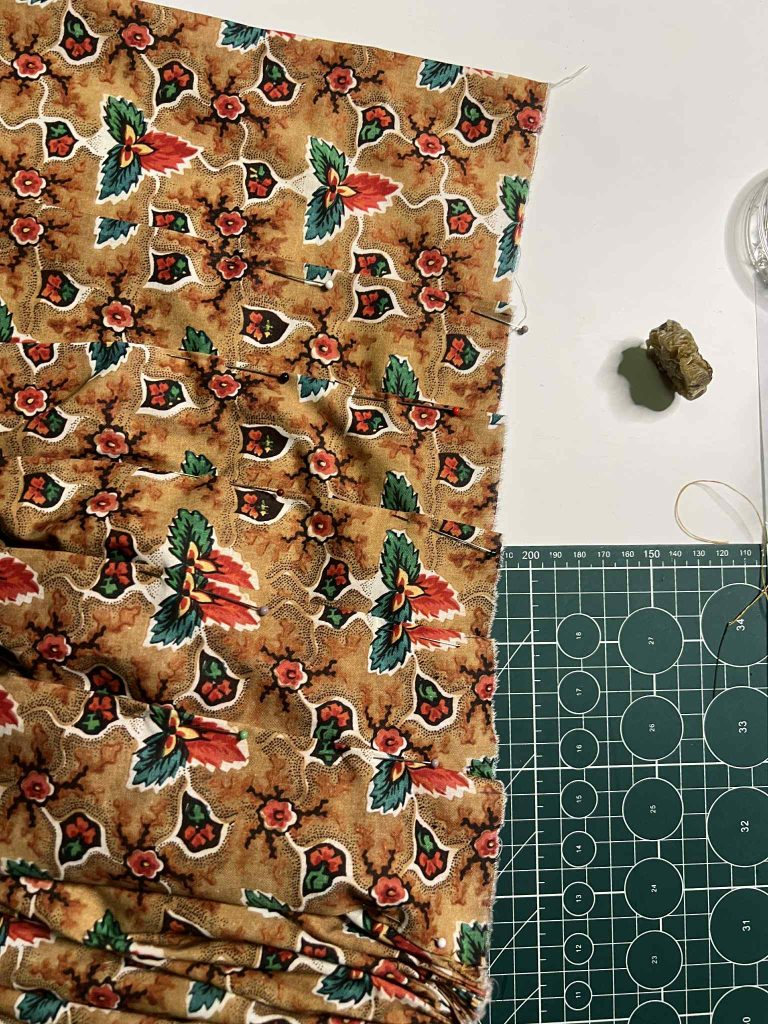
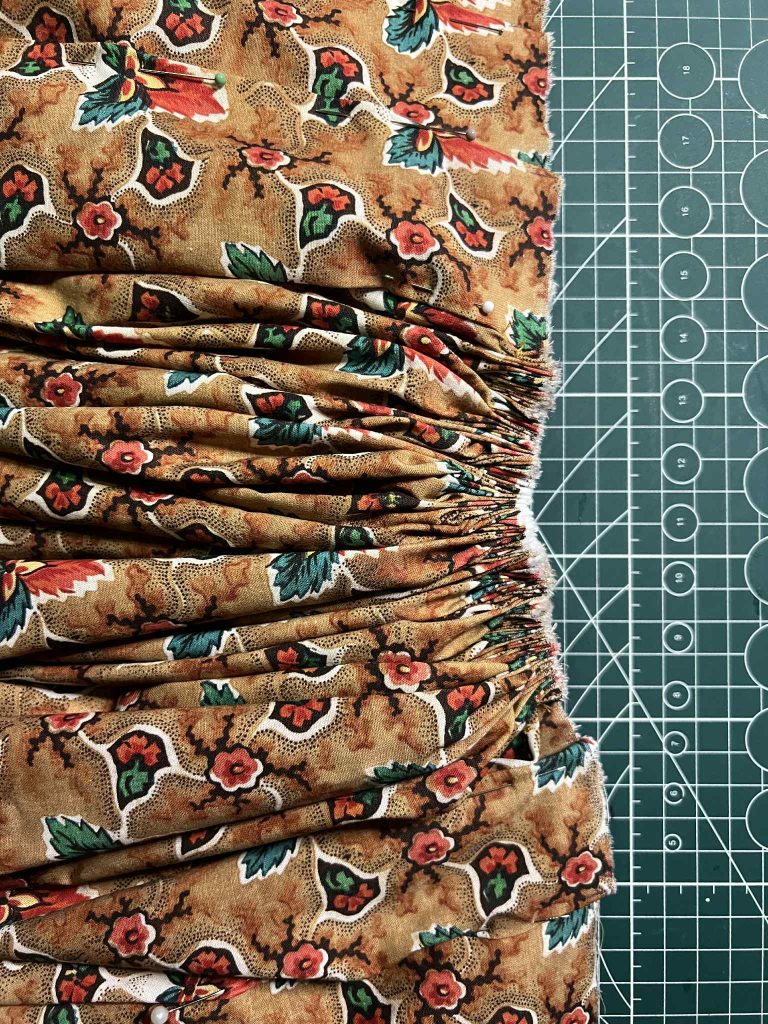
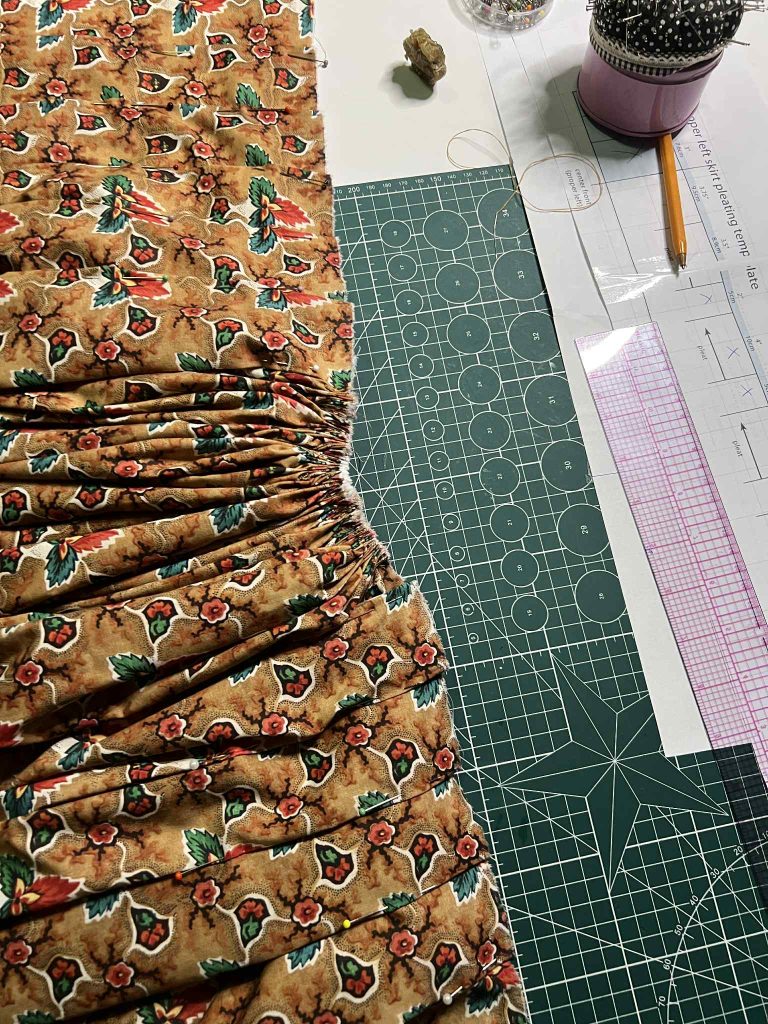
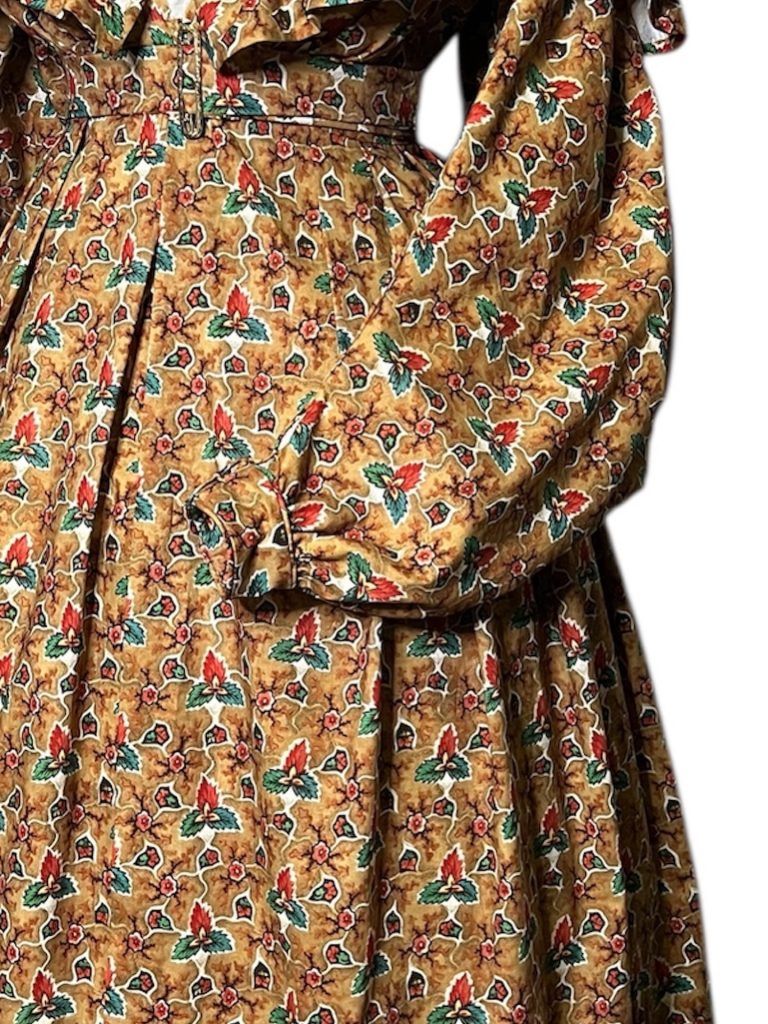
Now, about the pleats of the skirt. This part required a bit of work, as they run toward the front of the gown. I followed the pattern layout, and the pleats are slightly asymmetrical: one side has more pleats than the other, and they vary in width. This doesn’t surprise me, as not everything in period garments was perfectly measured — the skirt may have been widened or narrowed at some point, or perhaps it was originally like this. I created the pleats on both the left and right sides, leaving fabric in between without pleats, which was intended for gathering.
Here is exactly where the problem I mentioned earlier appeared. With the fabric draped over such a narrow area, this section of the bodice was pulled very tightly and the fabric became distorted. I needed to better distribute the weight or reinforce this area, so I inserted an additional strip of cotton, which strengthened it and allowed the weight to be spread more evenly.
Even so, a portion of the gown still pulls heavily toward the back, causing the front to lift slightly. A similar issue was noted by another person testing this pattern. It is possible that the front of the gown may need to be slightly lengthened, as the problem stems from the weight of our modern fabrics — they are heavier compared to the printed cottons of the 1830s. Even though I chose Creston, a very fine cotton fabric, it is still unfortunately quite heavy.
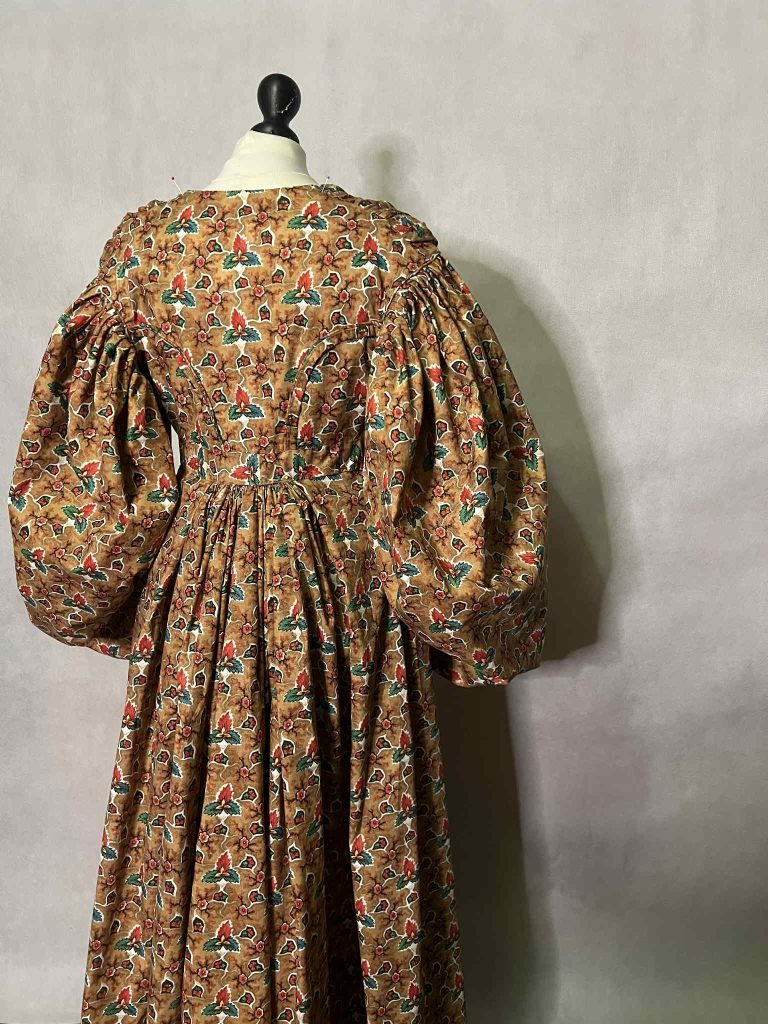
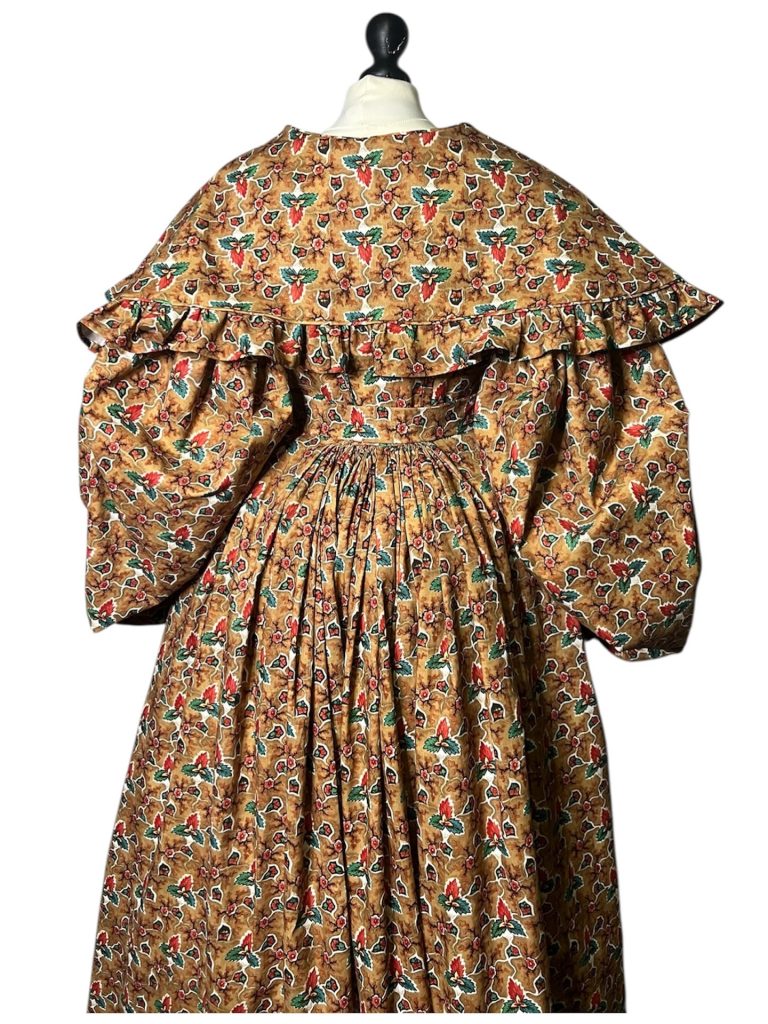
And this is how the back looks after attaching the skirt to the reinforced section of the belt. Everything sits quite well — there is no pulling anywhere, and it lies smoothly and evenly, almost exactly like the original.
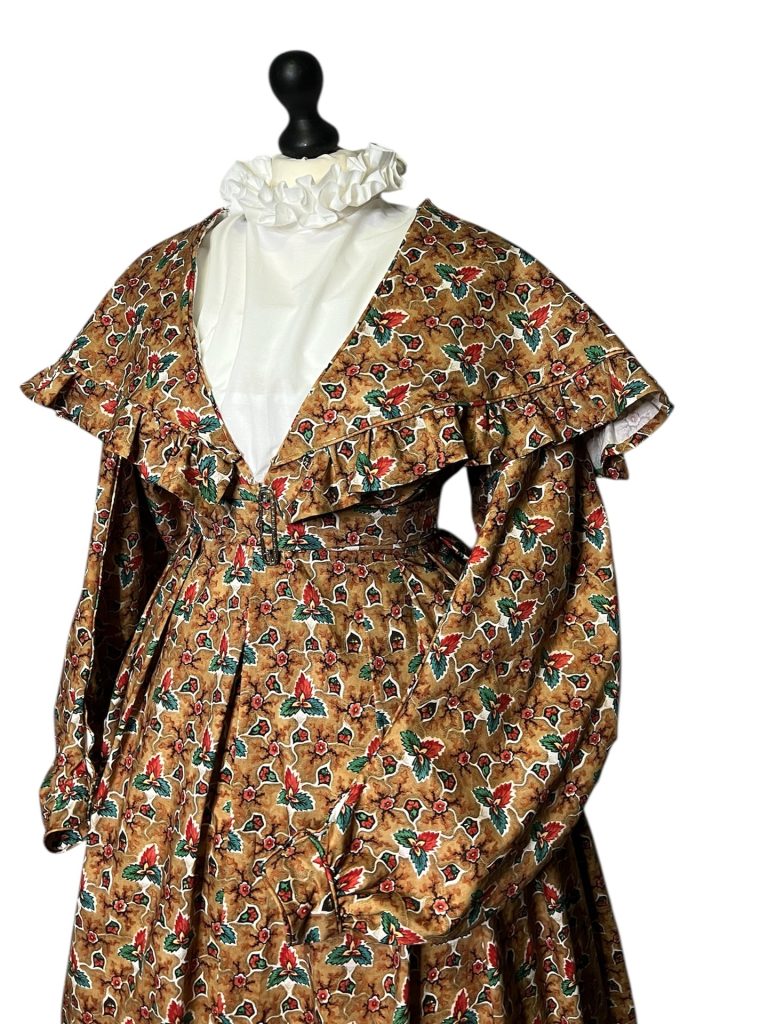
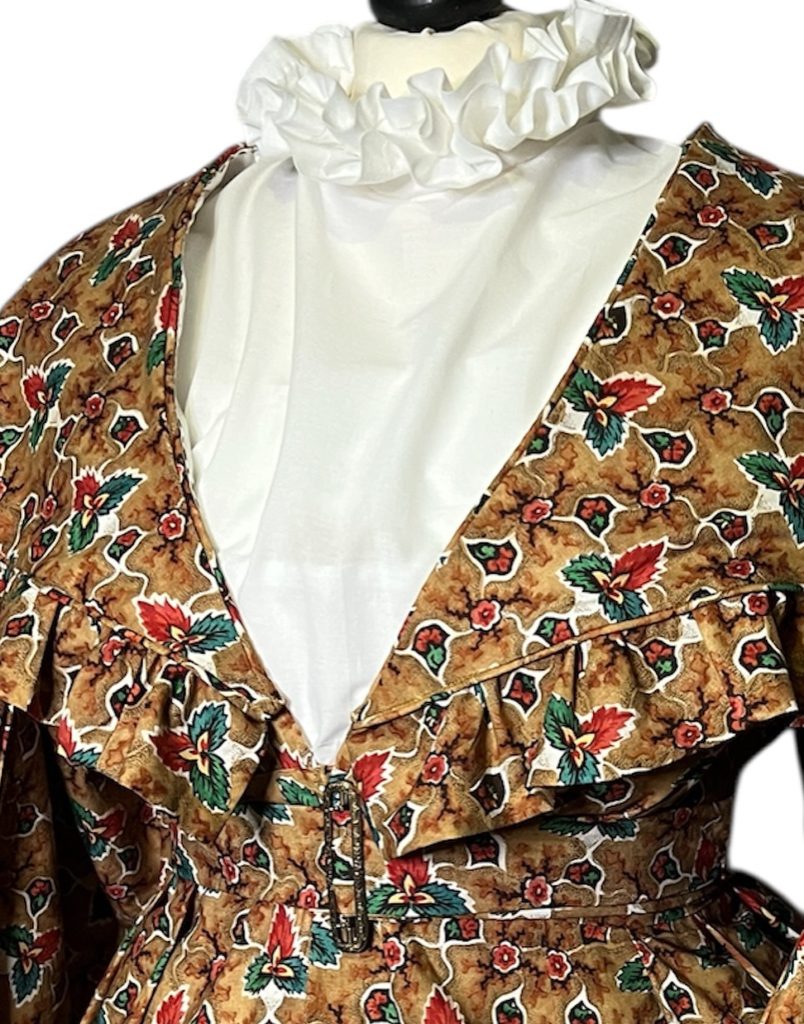
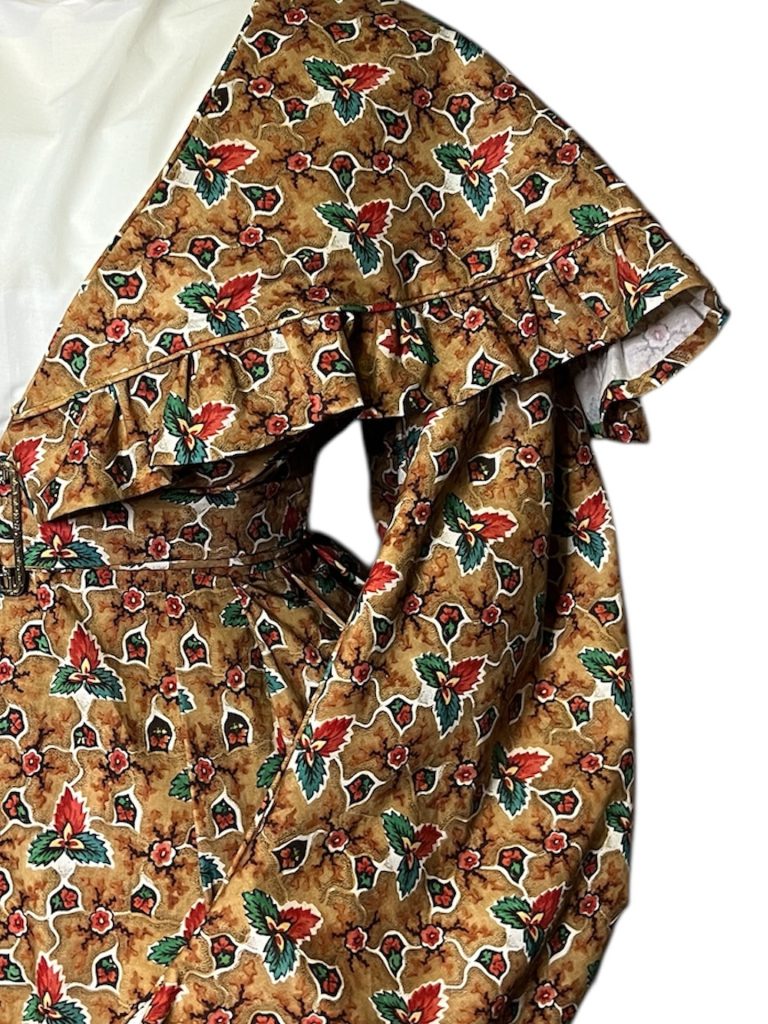
And here is the finished gown from the front, with its characteristic pleats. As you can see, it rises slightly under the bust. When I wore it, I could feel the effect of the back pulling, which is why I added an additional belt. It requires almost no extra work but nicely evens out the waistline. Of course, it is fastened with a period-appropriate clasp.
As for the small pelerine, the biggest challenge was adapting it to the smaller size of the gown. After a few attempts, I managed to get it to drape nicely. I made it with a lining, while the flounces are cut from a single layer of fabric on the bias and heavily pieced. Unfortunately, I only had the last fragments of fabric left, so in the seam between the pelerine and the flounce I still had to carve out some material for the bias piping with cord — it was a tight fit, but it worked.
The pelerine is attached to the gown using tabs and small buttons, allowing it to be secured at the back of the neck with a single button, while the loop is hidden inside the bodice. The same system is used at the front. I also added two hooks at mid-neckline to ensure it fits closely. Overall, I’m very pleased with the result. I plan to use this pattern, with minor modifications, to make a winter gown with fur trim.
I can highly recommend working with Kenna, as her patterns are based on authentic historical garments. One remaining question is whether this gown was intended for a pregnant woman or if our modern fabrics are simply too heavy. This issue could certainly be improved by slightly lengthening the front or using less fabric in the back of the skirt.
My adventure with 1830s gowns only began recently, strongly inspired by the series Gentleman Jack and the film Nosferatu. I had already experimented with this…